![[Big News]Brorsoft's iPhone Data Recovery Entitled iRefone Released - 50% Discount Off](http://1.bp.blogspot.com/-EFfGrIMRojc/VVG1jwLqb1I/AAAAAAAAAFI/LrX6-8YNFvg/s1600/irefone-half-price-facebook.jpg)
This article provides an easy way to do AVI to TiVo converison and upload it to your TiVo (including TiVo series 1, series 2 and series 3). 2 parts will be included. If you are interested, then hurry to CHECK IT OUT!
Q:"Just bought a Tivo and love it. Currently using the desktop plus software to stream my videos on the laptop to the Tivo which is working just fine. Only problem is I would like to stream the AVI files which I believe Tivo doesn't currently support.
Any suggestions on how to stream these through Tivo?"

OK, AVI is not compatible with TiVo, so we need to convert it to TiVo format first, such as MPEG-2. In this case, a professional Video file conversion tool becomes a must, here i recommed Brorsoft Video Converter, which is an all-in-one video converter tool that lets you effortlessly convert your video and audio files from one format to another at ultra-fast speed. It supports a wide range of formats like AVI, VOB, MXF, AVCHD (.mts/.m2ts/.m2t), TiVo, MPEG, WMV, MP4, FLV, 3GP, MKV, AVCHD, etc., and includes presets for popular devices like iPhone, iPad, iPod, Samsung Galaxy Tab, HTC, Nook Tablets, Amazon Kindle Fire HD, Google Nexus 7/10, etc. What’s more, the built-in editor lets you personalize your videos before the conversion.
Next follow me to Make it Possible ~~~
Download the best Video Conversion Software:


Part I: How do I convert AVI movies to Tivo for Playback?
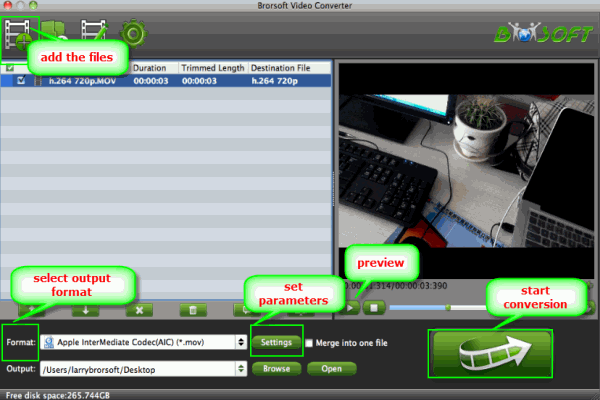
Step 1. Add MKV to converter
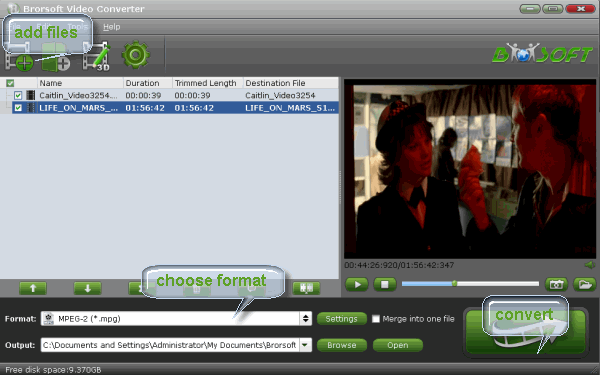
Download, install the AVI to Tivo Converter. As long as you launch it, the following main interface will pop up. Now you can click on “Add” button to import AVI files which you want to convert into this program.
Tip: If you want to join all the AVI files you loaded as a single file, you can tick checkbox “Merge into one file”.
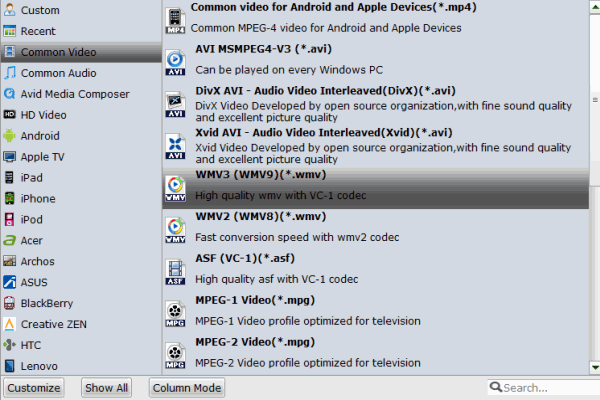
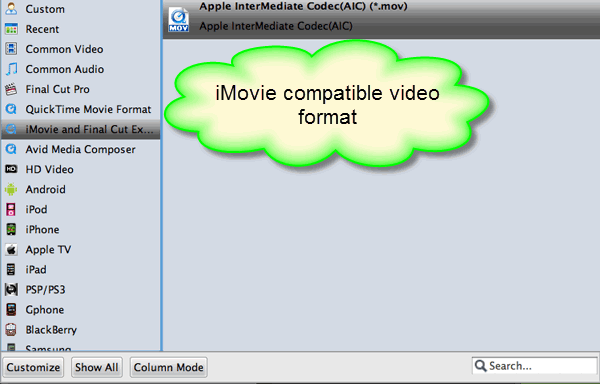
Step 2. Choose MOV as output format
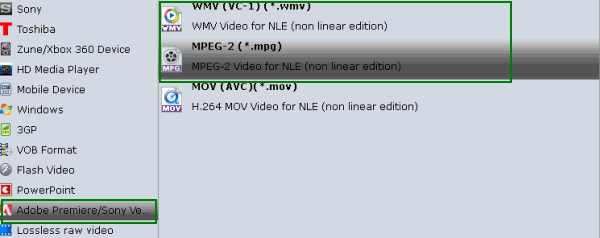
Hit the drop-down list of “Format” to choose "Common Video -> MPEG-2 Video(*.mpg) as the best format.

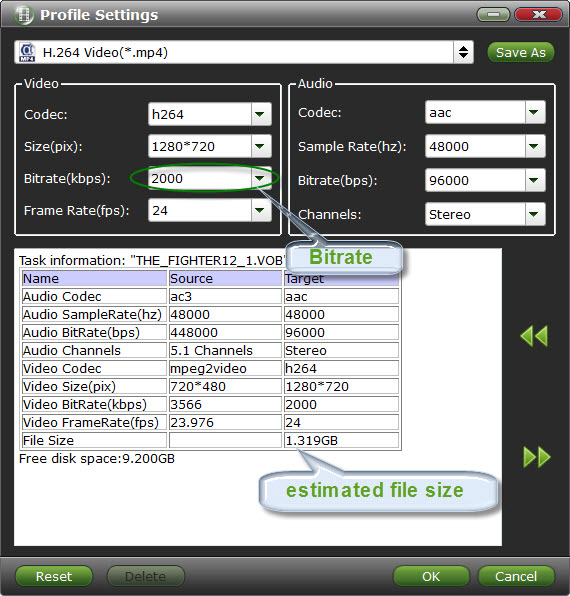
Step 3. Set advanced settings
By clicking the Settings icon, you can adjust video and audio parameters like codec, bit rate, frame rate, sample rate, etc., in that way, you can take charge of the size and quality of the output files. In principle, the larger input values, the better output quality, but the corresponding larger file size.
Step 4. Star conversion
As soon as all the above settings are completed, you can press “Convert” button to start AVI to MPEG-2 conversion. If you are busy, you can set "shut down my computer after the video conversion".
After conversion is done, simply click “Completed” to back to main interface, and click “Open” button to find generated output videos and then transfer it from your PC to Tivo flawlessly.
Part II: How do I transfer home videos from my PC to my TiVo?
To transfer home videos from your PC on your home network to your TiVo media device, you must have purchased the Home Networking Package, and downloaded and installed the TiVo Desktop 2.8 software (which comes as part of the Home Networking Package).
To make sure you’re using TiVo Desktop 2.8, launch TiVo Desktop and go to Help > About TiVo Desktop.
Step 1
On your PC, open My Documents > My TiVo Recordings.
NOTE: You can change the location of this folder under File > Preferences.
Step 2Copy the home videos you wish to transfer to your TiVo into the My TiVo Recordings folder.
Supported files include:
Windows Media Video (.wmv)
QuickTime Movie (.mov)
MPEG-4/H.264 (.mp4, .m4v, .mp4v)
MPEG-2 (.mpg, .mpeg, .mpe, .mp2, .mp2v, .mpv2)
DivX and Xvid (.avi, .divx)
Step 3
These will now display in your TiVo Desktop’s Now Playing List.
Step 4On your TiVo, navigate to TiVo Central > Now Playing List.
Step 5
Scroll down to the bottom of the list and select your “Now Playing on [YOUR PC]”.
Step 6Select the video you wish to transfer and follow the screen prompts to begin the transfer.
Step 7
While the video is transferring, a blue light will be lit on your TiVo media device.
Step 8Once the blue light turns off, the video has finished transferring. You can find the transferred video in your TiVo Now Playing List.
NOTE: Video can be played whilst transferring but network speed limitations may cause video to pause.
NOTE: Your TiVo media device will only transfer one file at a time; additional files will be queued for transfer later.
TIPS:
 If you not only wanna convert videos, but also intend to convert Blu-ray/DVD movies, the all-in-one tool, Brorsoft Blu-ray Video Converter Ultimate will be your first and best choice.
 More Useful Topics:
Convert ISO movie filse to MOV easily
Converting AVCHD Lite to AIC for iMovie
How to Convert & Import AVCHD Lite to Final Cut Pro
ISO to MP4- How to batch convert DVD ISO to MP4
Convert and Play MKV movie on Tivo From PC
Rip DVD to MOV for native playback with QuickTime on Mac
Rip Blu-ray DVD to MKV losslessly with makemkv Alternative for Mac
Source:Convert AVI movie to Tivo supported format files from PC to Tivo?


 here
here